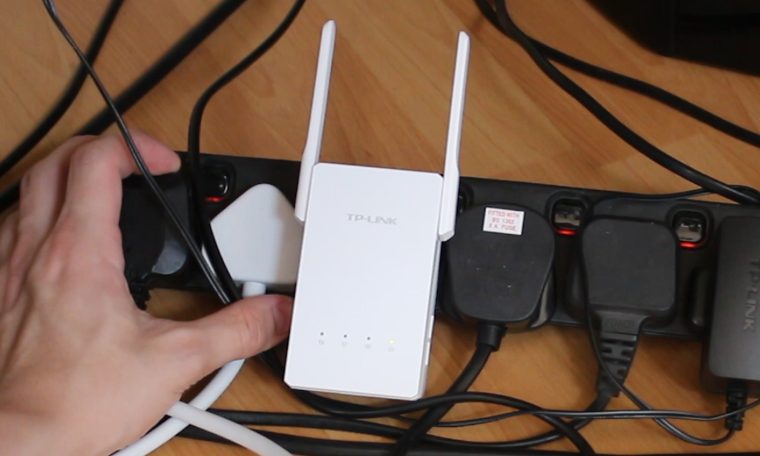
TP-link is a brand that provides signal repeaters, routers, and other networking devices so that you can use the internet in your home. One of the range extender models that TP-Link distributes worldwide is the AC750 WiFi repeater. With a simple setup and extraordinary features, you can install it in no time and enjoy fast internet in any corner of your apartment. But this setup process consists of important steps that should be applied carefully. Here, in this full of information article, you can learn how to complete the TP-link repeater installation. So, let’s start with the ‘TP Link AC750 WiFi range extender setup’ section.
TP-Link AC750 WiFi Range Extender Setup
The TP-Link signal repeater setup can be done in two different and simple parts; one is hardware setup and the other one is configuration of settings and networks of the extender. We will start discussing with Hardware setup first then we will go to the next task which is managing the settings using web interface.
-
Connect AC750 to Router
Hardware setup is simply done when the WiFi extender is connected to the router or any other network device. It is connected to a router because it must be accessed to the internet to extend it in your house. Let’s take a look at some steps that help you to link the extender to the router.
- Simply, place your extender close to the router and locate the WAN port of the range extender and LAN port of the WiFi router.
- Then use an Ethernet cable and insert it into the above-mentioned ports.
- Now, find the nearest electric wall socket and plug the extender into it.
- To turn the repeater on, you have to press the power button on the front of the network device.
You must check that you didn’t place the WiFi extender near any electronic device. Also, you should ensure the Ethernet cable and wall socket that you are using to connect links and supply power is in good condition.
After turning the networking device on, you should configure the settings and networks of the TP-Link AC730 range extender.
-
Configure Settings and Networks
TP-Link range extender provides you an easy-to-use web interface utility so that you can easily manage the settings and networks. Take a look at simple steps to reach the interface with the help of the login IP address.
- Simply, link your computer to the extender with the Ethernet cable.
- Open up any of the web browsers on your computer and search the login IP address.
- You can find the assigned IP address at the back of the WiFi signal repeater.
- The IP address will take you to the login page of the TP-Link interface.
- Just enter the username and password field blanks given on the screen.
- You can also find user details on the back of the extender, under the IP address.
- These credentials will take you to the main dashboard of the interface.
- Here, you can manage the settings and networks of the WiFi range extender of TP-Link.
You must follow all the above-written steps because if you don’t, you can face troubles like TP Link Extender No Internet Issue, and TP Link extender not working.
Last Words
These are the last lines of this informative article, where you have to learn how to complete the TP-Link AC730 WiFi signal repeater setup. This setup process includes simple sections; the first is connecting the WiFi range extender, and the second is configuring the settings and networks of the range extender. At the last, we are hoping that you have completed the installation of the TP-Link AC730 network device with the help of this article.


